The Problem
Images account for most websites’ load times. Therefore, optimizing images is critical for improving load times and making browsing your website a pleasant experience.
Fix the Problem
The problem is fixed in the following order:
- Image Governance: Limit the file size of images that can be uploaded to your website.
- Image Optimization (Squoosh): Optimize images so they pass image governance.
- Image Optimization (ShortPixel): Further optimize that make it on your server.
- Website Hosting: Host your website with quality hosting that focuses on performance.
- Edge Optimization: Further optimize and serve images at the edge to reduce the load on your website.
Image Governance
The smaller the images allowed on your website, the better it will perform, and this also helps prevent timeouts resulting in Listing submission abandonment.
This section will teach you how to prevent users from uploading larger images to reduce disk space usage on your server while providing a better user experience.
My Approach
Implement Image Governance
Using the Limit Image Upload Size code snippet, I set a 1 MB max limit for image upload file sizes and educate users about this limitation using the applicable Submit Form field descriptions (Logo, Cover Image, Image Gallery, etc.). While the 1 MB limitation may seem too restrictive, you will see that’s not the case if you take a closer look.
Note: For real-world MyListing websites I manage, I set a maximum image upload size of 200 KB (sometimes lower) and adjust from there if needed. Making less restrictive adjustments is much easier than imposing more stringent changes.
Generally speaking, if we look at an image with dimensions of 1920 x 1080 px (Full HD) and in .jpeg format, it is somewhere around 315 KB after it’s compressed. This value could change a few hundred KB here or there, but you get the point.
This is significant to MyListing, as 1920 x 1080 px is the largest image dimension that should typically ever hit your website, which applies to areas like Cover Images, Gallery Images, Login Background, etc.).
Note: MyListing includes the ability to set a maximum file size per field, but that’s more of a manual process, and things get missed. That said, it does let you get more granular with your limits.
Educate Listing Owners
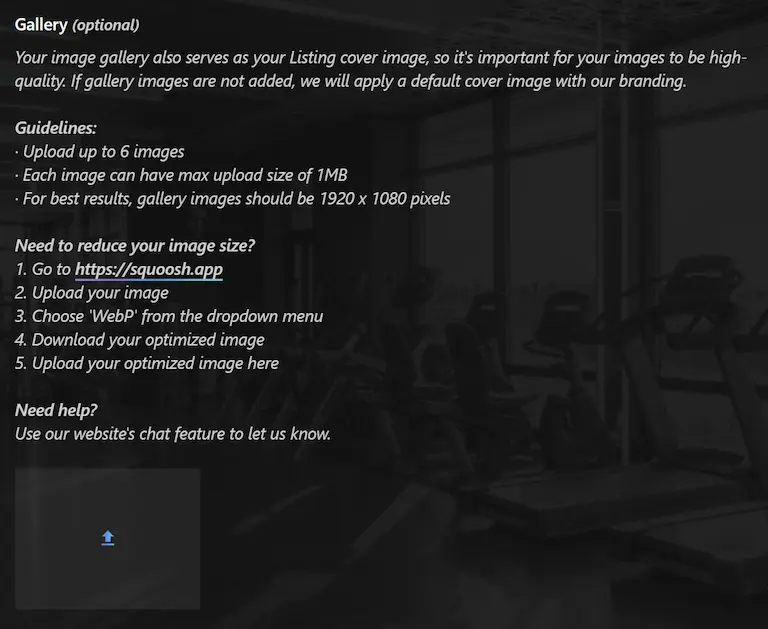
I use the description area for each image-based field (Logo, Cover Image, Gallery, Restaurant Menus, etc.) to educate the users about the file size upload limit. To see this in action, visit any MyListing Starter Site and start the ‘Add Listing’ process.
My Client Made It Work
I understand you may look at my proposed image governance and think no way could work for my website, whether due to potential user friction or just because you don’t want to do it.
One of my clients thought there was no way this governance would work for them, as their user base was full of “really finicky people” (their words) who don’t want to be bothered with “limitations,” but I asked them to give it a try. Of her 8,000+ users, only 2 or 3 said the 1 MB limit was an issue.
We talked with those users and discovered they were trying to upload 10 MB images from their mobile phones. After a conversation with these users, they understood why the limitation was there and could get their images uploaded without issue.
Why You Should Too
While the lack of image governance can strain your server, let’s put website performance optimization aside and talk about website hosting storage and a real-world example of how it can be an issue if it gets out of control.
A MyListing website owner came to me looking to migrate their website to better hosting, and while this is typically a slam-dunk, there was a big problem. The website owner had gone with cheaper web hosting that offered tons of storage (on poor-performing technology/hardware) at a meager price, and their website was essentially the Wild Wild West.
There was no image governance, with users uploading anything and everything regarding images, continuously adding to the cheap storage. We were looking at over 30 GB of images that needed to be migrated.
Looking at the better premium website hosting vendors, the website owner was looking at $250/month+ to host their website. At this point, the website owner had dug themselves into a deep hole, and the options were to stick with their current hosting provider, do a mass deletion (dangerous and time-consuming), find a way to offload the images to a separate vendor solution or pay the super high price for hosting somewhere else.
Long story short, without image governance in place, website owners can find themselves needing to add complexity and high costs that could have been avoided.
Scenario: Images Won’t Be Uploaded From the Front-end of Your Website
In this scenario, you, the website owner, and your team members will be the only ones uploading images to your website from the back end using the WordPress Dashboard.
The benefit of this scenario is that you have complete control of the images (quality, subject matter, compression, etc.) being uploaded. The downside is that this is more manual work, but many website owners will gladly take on that work to ensure the integrity of their Listings.
Step 1: Image Compression
Once the desired image is saved to my workstation, I run it through Squoosh (Free).
- Upload the image to Squoosh.
- Edit > Optionally, use the ‘Resize’ feature to get the desired image width.
- Compress > Change the format to ‘WebP.’
- Download the compressed image and upload it to your website.

Step 2: Kinsta Hosting
Those who use my preferred WordPress website host (Kinsta) get access to an Image Optimization feature that eliminates the need for a 3rd party Image Optimization plugin, and it could not be easier to set up.
This means you have at least one less plugin added to your website, one less plugin to maintain/manage, and a reduction in operating costs (e.g., Image Credits) often associated with Image Optimization plugins.
You can choose between lossless and lossy compression for your files. Although both methods will compress your image files and remove their metadata, there’s a big difference between them:
- Lossless Image Optimization: This compression has zero impact on the quality of your images. You should pick this option if image quality is more important than speed.
- Lossy Image Optimization: This compression might reduce the quality of your images. Pick this option to maximize and prioritize speed over image quality.
Image optimization does not alter the images stored in your site files; it creates new images. The new images don’t require additional storage and will not count toward the disk space use of your Kinsta plan.
When Lossless or Lossy is enabled, the CDN automatically creates WebP versions of the images on the fly using Cloudflare’s Polish service. The WebP versions are cached in Cloudflare’s CDN and delivered under the below conditions.
- The Accept header in the visitor’s browser includes WebP
- The compressed image is significantly smaller than the original image.
Note: I use the ‘Lossy’ optimization option for most websites. I’d consider using the “Lossless” option if I had a website that focused on images that needed to be as close to the original as possible, such as a photography website.
Configure Kinsta Image Optimization
- MyKinsta Dashboard > CDN > Image Optimization
- Click ‘Settings’.
- Choose the desired compression level.
Important: The Image Optimization feature from Kinsta offers the same features as Cloudflare Polish and the ShortPixel Adaptive Images (SPAI) plugin. Ensure you only run Image Optimization from a single solution (Kinsta, Cloudflare Polish, or SPAI).
Important: Kinsta’s Cloudflare integrations (Edge Caching, Image Optimization, etc.) will not work unless you have the required Cloudflare Page Rule. See the Implement Cloudflare’s CDN for Better MyListing Security and Performance for more information.
Step 3: Testing
So, how do we know if Kinsta is optimizing our images? Check out the ‘Image Optimization’ video at the bottom of this guide.
Scenario: Images Will Be Uploaded From the Front-end of Your Website
In this scenario, you, the website owner, and your team members will be uploading images to your website, but Listing owners will also be from the front end as part of the ‘Add Listing’ process. The downside of this approach is that you will need more control of the uploaded images (quality, subject matter, compression, etc.).
We will focus on the Listing Owner’s experience using the steps below.
Step 1: Image Compression
When Listing Owners go to add their Listings, they will likely look to upload multiple, large (i.e., file size) images. Referencing the education you provide Listing Owners, for each image-based field, they will compress their images to adhere to your image governance.
Note: For this guide, I ran an 11 MB, 5166 x 3443 px image through Squoosh, resizing it to 1920 px wide and compressing it with the default WebP format settings. I ended up with a 137 KB image. I then adjusted Squoosh’s WebP compression quality to 100% to limit the loss in quality while still not going all in with the “Lossless” compression option. I ended up with a 788 KB image. The bottom line is that it’s easy to stay under 1MB (or even less) image governance. It comes down to several factors, one of which is how flexible your Listing Owners are when faced with basic instructions.
Step 2: ShortPixel
The ShortPixel Image Optimization (SPIO) plugin is installed as the next line of defense. This means it picks up where the Listing Owner’s applied compression leaves off, resizing the images to the maximum dimensions you need for your website (e.g., 1920 x 1080 px) and further compressing the images.
Important: SPIO can serve your images in WebP format, which takes more credits. Instead, let Kinsta handle that for you so that you can save that money.
Note: In the past, I would also recommend the ShortPixel Adaptive Images (SPAI) plugin, but that plugin is no longer needed when you are using Kinsta.
Step 3: Kinsta Hosting
Refer to the Kinsta Hosting section earlier in this guide for more information, but basically, what happens at this stage is we are taking our optimized images, converting them to WebP, and serving them from the edge to take the load off of your server.
Kinsta’s partnership and tight integration with Cloudflare make all this magic happen.
