Subscription Payment Link Setup
Stripe Payment Links can be embedded into emails, used for simple payment buttons on a website, or shared directly through social or support channels like Twitter, Instagram, SMS, chat, and more.
They have over 25 languages, and the checkout page locale will automatically match the default language setting of your customer’s browser.
Payment Links lets you accept 20+ payment methods without doing any integration work, and you can even turn your Payment Links into a QR code.
There is no additional cost for using Payment Links. The only costs are the standard payment processing fees that Stripe charges.
Note: Check out my Implement Stripes Payment Method guide, which gives you some tips to stay in good standing while covering a real-world example of a website that fell on Stripe’s bad side.
Products or Subscriptions Payment Link Setup
Let’s set up a Stripe Payment Link to sell a subscription-based service.
Add Your Subscription Product to Stripe
- Stripe Dashboard > Products
- Click ‘Add Product’.
- Name > Add a name for your product.
- Price > Enter the price for your subscription.
- Click ‘Save Product’.
Subscription Payment Link Setup
- Stripe Dashboard > More > Payment Links
- Click ‘New’.
- Select Type > Choose ‘Products or Subscriptions.’
- Product > Select the subscription product you created in the previous section.
- Click ‘Create Link.’
Customize Your Payment Link With Your Branding
- Stripe Dashboard > Settings > Branding
- Checkout & Payment Links > Click ‘Make Changes.’
- Adjust the styling as desired. (Note: You can check the ‘Use Brand Colors’ box to automatically pull in the branding colors you previously set up for your Stripe account.).
- Save changes.
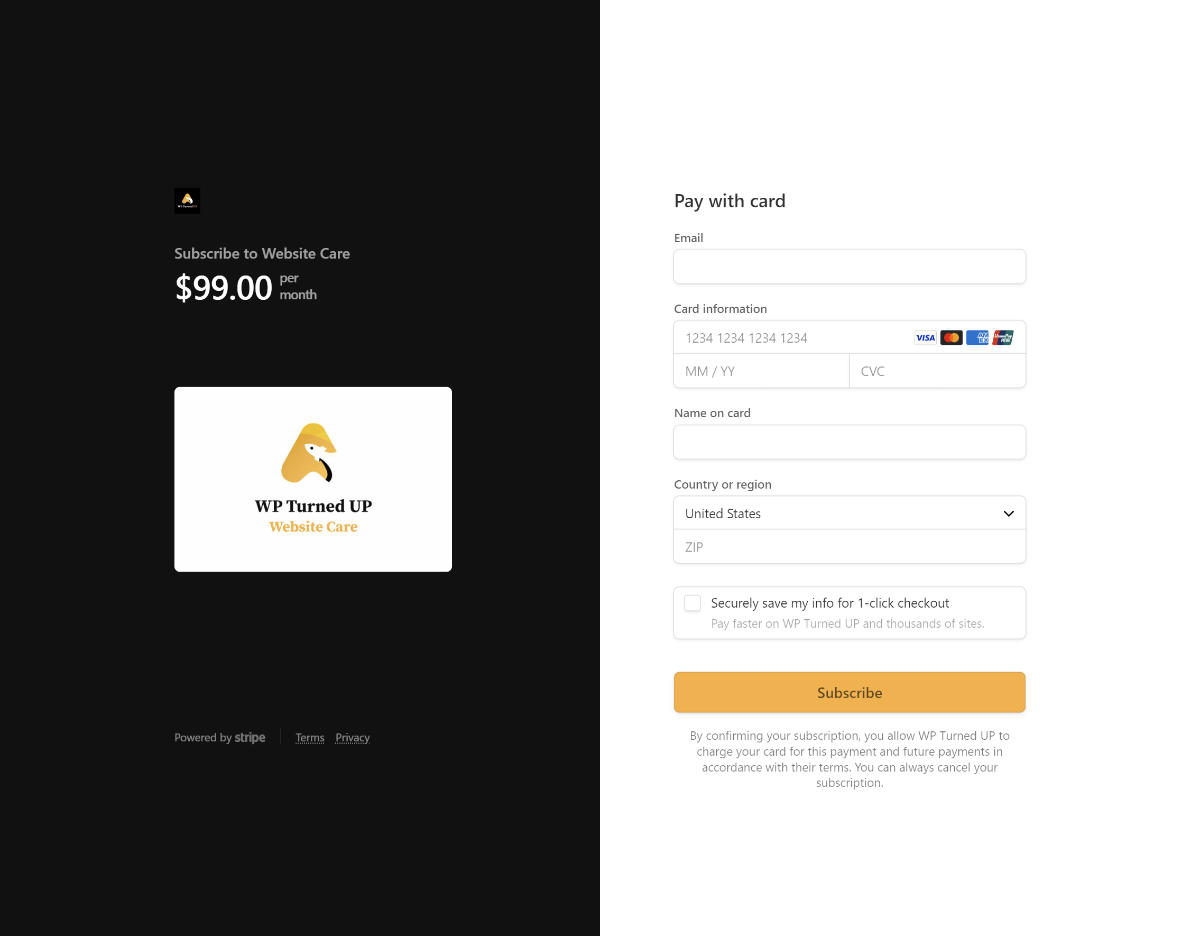
The image below gives you an idea of how your Stripe Payment Link’s checkout page will look.
Add the Payment Link to Various Areas of Your Business
- Stripe Dashboard > More > Payment Links
- Click ‘Copy’ to grab the payment link.
- Add the payment link to your website, email, social media, or anywhere else you can/want to add links.
Add a Payment Link QR Code to Single Listings
Get the QR Code
- Stripe Dashboard > More > Payment Links
- Click ‘QR Code’.
- Click ‘Download Image.’
- Rename the downloaded image to something meaningful.
- Adjust the image’s color to match your website’s or your Listing Owner’s chosen branding.
Add the QR Code to Listings
- WordPress Dashboard > Listing Types > Edit the desired Listing Type.
- Fields > Create a Custom Field > Select the ‘General Repeater’ field.
- Label > ‘Stripe QR Code’
- Show In Listing Comparison Popup > Toggle OFF.
- Single Page > Content & Tabs > Choose the Tab where you want to add the QR Code.
- Insert a New Block > Select ‘General Repeater’.
- Edit the block.
- Label > Clear out the label.
- Use Field > Select your ‘Stripe QR Code’ field.
- Block Icon > Click on the icon, search for ‘QR Code,’ and add the available QR Code icon.
- Number of Columns > Adust the number of columns so the QR Code looks good on all devices.
- Custom Block ID > Add an ID. (ex. ‘qrcodeblock’).
- Add the following CSS, adjusting as desired.
#qrcodeblock .menu-thumb a {
	padding-bottom: 120%;
  	background: transparent;
}

#qrcodeblock .menu-price-btn {
  display: none;
}- Edit a Listing that falls under your Listing Type.
- Upload the QR Code.
- Label > Copy the HTML from the snippet below and use it as the label.
Note: MyListing requires the ‘Label’ field to be populated at a minimum, so we’re entering HTML code that hides the title from the front end of your website, giving the QR Code a clean look.

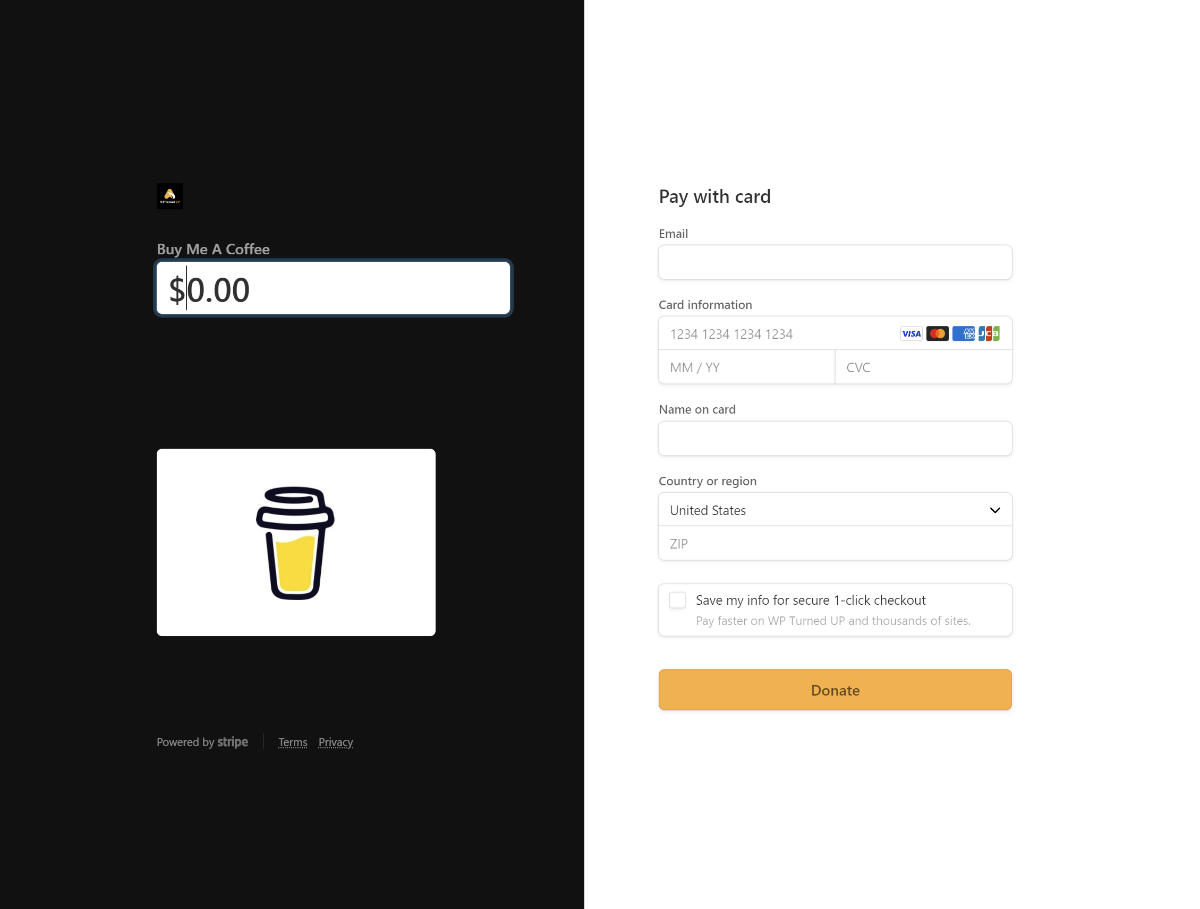
Donation Payment Links
Let’s set up a Stripe Payment Link to accept donations.
- Stripe Dashboard > More > Payment Links
- Click ‘New’.
- Select Type > Choose ‘Customers Choose What To Pay.’
- Title > Give your payment link a name.
- Advanced Options > Call To Action Button > Choose ‘Donate.’
- Advanced Options > Allow Business Customers to Provide Tax IDs > Enable
- Click ‘Create Link.’
- To customize the branding of your payment link, follow the instructions in the ‘Customize Your Payment Link With Your Branding’ section of this guide.